Posts tagged: DIY
Grilling 101: Top Questions Answered!

If you’re anything like us, you’re already busting out the charcoal and grilling ALL the things. Whether you are grilling up ribs, veggies or a whole lot of burgers and hot dogs, there’s nothing better than the smell of burning coals and smoke. We get all sorts of grilling questions every year, from gas or charcoal preference to how to clean the grill. So this year we’re going to be covering a ton of grilling recipes, techniques and tips and tricks throughout the summer! To kick things off, we’ve rounded up our most-asked grilling questions. Before you fire up those grills again, get to know your stuff!

What’s better gas or charcoal? This is the ultimate grill question we get! There are a few factors that come into play to help you decide. First, price. Gas is more complicated and will cost more because of all the moving pieces inside the grill. Charcoal is a simpler grill so it will always be substantially cheaper. Second deciding factor? Taste. Gas burns clean so you’ll get the char marks, but you won’t get any special flavor in your food like using charcoal will get ya. Of course, gas grills will get to temperature faster and charcoal grills tend to take a long time to get hot. Gas grills are also a lot easier to clean up since charcoal grill cleaning can send ashes scattering all over the place. That’s a lot of back and forth, you guys. Yea, we know. If you want our honest opinion, charcoal always wins out when it comes down to it. You get better flavor, better heat management and you aren’t forking over as much money. When in doubt, go with the coal. Do I need to preheat my grill? YES. You need to preheat your grill whether you are using a gas or charcoal grill. A good rule of thumb is about 15 minutes for high temperatures (i.e. for searing) or 10 minutes for lower temperatures (i.e. for fish and such). Getting that preheat done before you start grilling the food will also help remove some of the residue left on the grill from past cooking.

How do I season my new grill? Oooohhhh look at you with your new killer grill! You are probably itching to get to grilling, but you have to season that baby first. No one wants the new grill residue on their food, trust us. Start with a cold grill and rub all the cooking surfaces down with canola oil. Wipe off any excess oil with a paper towel and light the grill. Let the grill heat up for about 15 minutes, or until the oil starts burning off and smoking. At this point the shiny finish that came with the grill should be turning dark brown or bronze. Turn off the grill and once coal, add a light coat of oil. To keep your grill in tip top shape, repeat this last light oil application step after each time you grill. Why you should never ever use lighter fluid...ever It’s all about the taste and smell. If you use lighter fluid, you’re going to get all those chemicals on your food. It’s really pointless to use lighter fluid when you can use a chimney starter so easily. Plus no one wants to smell like lighter fluid all day. Yuck.

How do I deal with flare-ups? First, get that food off the grill so it doesn’t get charred to oblivion. Then cover it up and wait it out. Flare ups survive off of the oxygen in the air so if you can smother it with the lid of the grill, do that. No matter what you do, DON’T squirt a water bottle on a flare up. It will get an ashy mess everywhere and it doesn’t actually subdue the flare. Be sure to keep an extinguisher nearby though… Just in case. Keep checking the blog for new Grilling 101 features throughout the summer. Your grill master status depends on it.
Don’t forget to check out our featured grilled recipes!

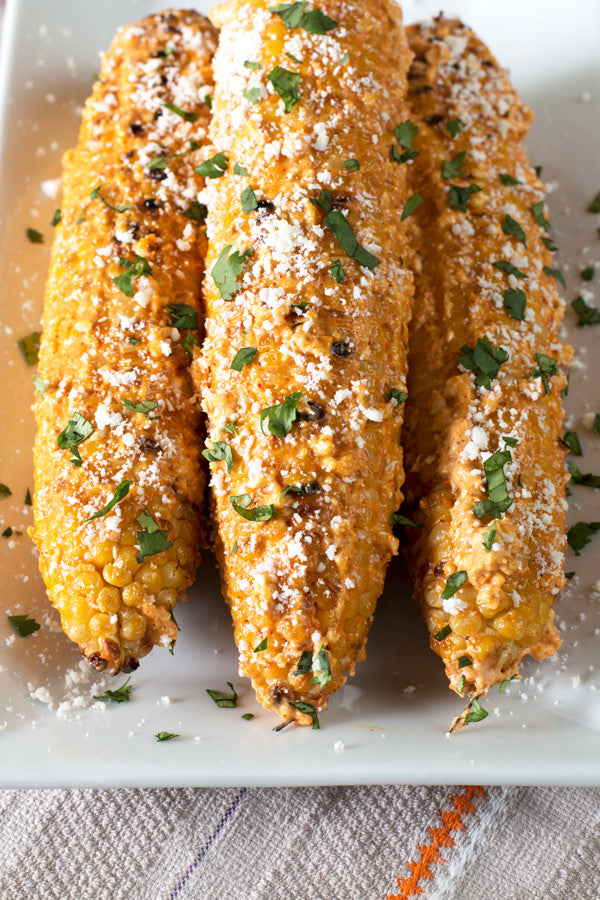

Grilled Chili Rubbed Flank Steak


Lemon Pepper Bacon Wrapped Shrimp Skewers
Recipes & recipes photos by Meghan Bassett
The One Trick to Microwave Perfect Bacon
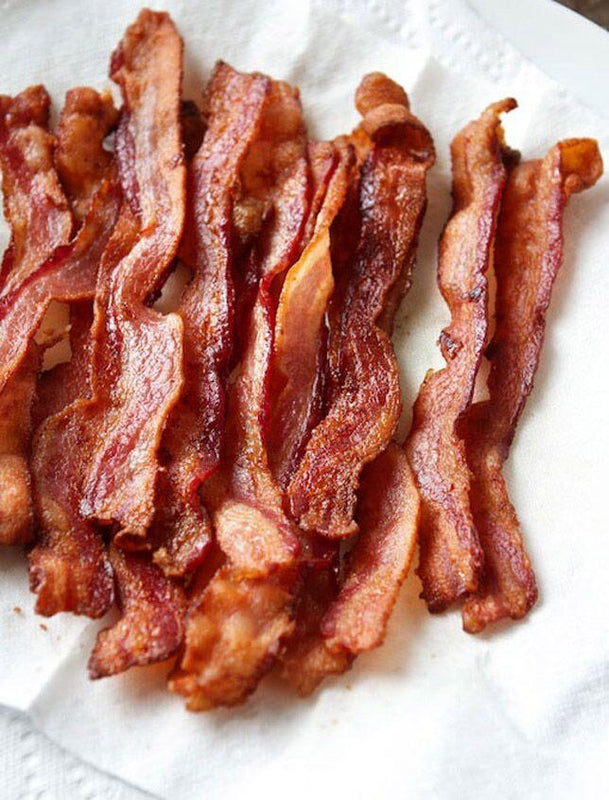

We've all been there in a pinch. The oven is taken, you've got 5 things working on the stove and you still need to cook up some bacon. This is the moment that knowing the one trick to microwave perfect bacon really comes in handy! There may be some naysayers out there that don't believe that microwaving bacon really works. Well, we're here to prove you wrong. If you do it right, you'll get that oh-so crispy, swoon-worthy bacon every time.

So what's the one trick you need to know? It's simple - paper towels. You might be scratching your head right about now - I mean, we don't blame you. What's so special about paper towels? We swear, paper towels really are the key here. They soak up all that extra grease as the bacon cooks in the microwave so you end up with bacon that is anything but soggy. No globs of gross, pathetic bacon here. We respect our bacon WAY too much to let that happen on our watch. Are you ready to know the secret of the paper towel power when it comes to microwaving bacon?

Here's how to do it right, every single time: Step 1: Line a baking dish (one that'll fit in your microwave, of course) with not one, not two, but THREE layers of papers towels. Step 2: Add bacon in a single layer and cover with another two layers of paper towels. Step 3: Microwave the bacon for 1 minute per slice of bacon. Check on it and cook in 30-second additional increments as needed. The price time will depend on the thickness of the cut and how much you are cooking at one time. Step 4: Once cooked through, transfer the bacon to a clean plate (NOT lined with paper towels) so the bacon slices don't stick to the paper towels as it crisps up. Step 5: Enjoy deliciously cooked bacon, right from your microwave! Did we just blow your mind?
We Grill What YOU Want!

Calling all grillers, smokers, BBQ fans and summer food fanatics! It's our favorite time of year - grilling season. This is the time of year where we pull on the big kid gloves and strut our stuff around the grill every weekend. Grilling is what we live for, but we can't keep all of our secrets to ourselves... That's why we're bringing you a whole new video series dedicated to our grilling secrets. You heard us right, we're kicking off a new video series for the summer grilling season called "We Grill What YOU Want!" It's all about YOU this grilling season, piggy peeps. In our new rad series, we're going to cover all the top grilling recipes, tips and techniques that you are dying to know. Do you wish you knew how to properly start up your charcoal grill? Are you desperate to cook fall-of-the-bone tender ribs? Or are grilled vegetables giving you a run for your money? It doesn't matter what you want to know; no question is too big or too small for us! So how will it work? That's where YOU come in, BBQ-lovin' fans. Leave us a comment below telling us what YOU want to learn about grilling! You could be a first-timer wondering how to grill chicken, or you could be a seasoned pro that really wants to discover how take your grilling skills to the next level of awesomeness. Just tell us what you want to know about grilling below! Your question could get featured in our video series, which will give you some serious bragging rights around the grill at your next BBQ. We'll be choosing a handful of the top questions and then we'll highlight them in our upcoming "We Grill What YOU Want!" series. Comment below now for a chance to be featured! Happy grilling!
« Previous 1 2 3
