Posts tagged: tips and tricks
Grilling 101: Everything You Need To Know About Smoking Woods (Including Food Pairings!)

To be a true grill master, you have to know your stuff. One of the big ones that you have to know comes down to your wood. Get your mind out of the gutter! We’re talking about smoking woods here. Come on now… ;) Woods can vary from mild to strong in flavor, and you have to know your woods to know what to cook with them. Some woods can overpower the food with their smoke and some woods aren’t strong enough to stand up to the cut of meat, like a big ol’ hearty brisket for example. Today we're sharing everything you need to know about smoking woods. Check out our comprehensive guide to smoking with all of our favorite smoking woods below... First up on the education list, it's time to get to know the flavor profiles! You have your mild fruit woods such as apple, peach, cherry and pear that are light, fruity and sweet. These tend to burn hot and can vary between slow and quick burning times. Take a step up the scale to hickory next. It’s sweet and strong, heart and burns hot and slow. Then you’ve got maple which is sweet and light, on the milder end of the scale and burns hot and slow. Pecan and oak are more medium smoking woods, burning hot and slow. Finally, we wrap our list up with mesquite which is the big kahuna, so to speak. It’s bold with lots of smoke, and burns hot and fast. Now that you’ve gotten the cliff notes to smoking woods, check out what to use them with this summer. From meat to poultry to fish, you've got the ultimate pairing list below to become a pro in no time. Share what you're planning on making next in the comments below!

Smoke it up grill masters!
Grilling 101: The Best Way to Make Juicy Grilled Chicken


You know that magical juicy chicken you dream of getting hot off the grill in your very own backyard? It ain't as easy to make as you think. We hear it all the time - "how do I grill chicken breasts and keep them moist?" "Is there any way to avoid dry chicken? Help!" You asked BBQ-loving peeps and we are here to answer your grilling prayers. Just follow the crazy simple steps below and boom, just like that you'll be the envy of the entire neighborhood. Get that grill master cap ready...

First, use the bottom of a wide jar or glass (or even a small skillet) to flatten those chicken breasts in an even thickness. You don't need to pound them to super thin cutlets, just make them even. Now, brine that bird! Even a mere 30 minutes in a salty brine or marinade will make all the difference - plus you need time to fire up the grill anyway 😉

An easy brine is super salty water with a dash of black peppercorns will do the trick, or go fancy with a marinade for a couple of hours. Either way, make sure you are letting the chicken rest in the brine or marinade for at least 30 minutes.

Once the grill is hot, oil it up and grill the chicken breasts over medium high heat, approximately 350 to 425 degrees. Make sure they are over direct heat and grill them for just a few minutes per side. Fast and hot gives you a good sear and keeps the meat nice and juicy. When the meat reaches 155 degrees, remove it from the heat and let it rest. Don't worry, it'll keep cooking and reach that safe zone of 165 degrees while it rests. Just don't cut it too soon or you'll lose those tasty juices! Serve with any Pig of the Month BBQ sauce, chimichurri, or salsa. Happy grilling folks!
The One Trick to Microwave Perfect Bacon
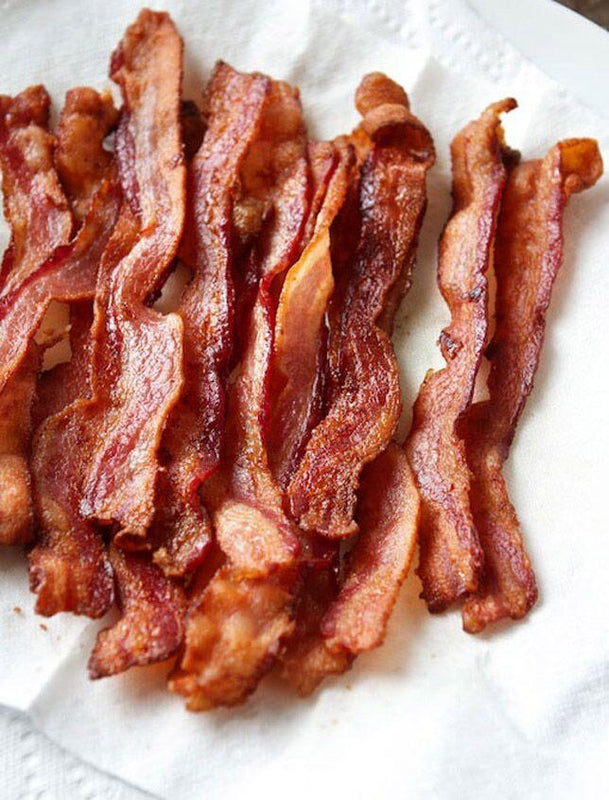

We've all been there in a pinch. The oven is taken, you've got 5 things working on the stove and you still need to cook up some bacon. This is the moment that knowing the one trick to microwave perfect bacon really comes in handy! There may be some naysayers out there that don't believe that microwaving bacon really works. Well, we're here to prove you wrong. If you do it right, you'll get that oh-so crispy, swoon-worthy bacon every time.

So what's the one trick you need to know? It's simple - paper towels. You might be scratching your head right about now - I mean, we don't blame you. What's so special about paper towels? We swear, paper towels really are the key here. They soak up all that extra grease as the bacon cooks in the microwave so you end up with bacon that is anything but soggy. No globs of gross, pathetic bacon here. We respect our bacon WAY too much to let that happen on our watch. Are you ready to know the secret of the paper towel power when it comes to microwaving bacon?

Here's how to do it right, every single time: Step 1: Line a baking dish (one that'll fit in your microwave, of course) with not one, not two, but THREE layers of papers towels. Step 2: Add bacon in a single layer and cover with another two layers of paper towels. Step 3: Microwave the bacon for 1 minute per slice of bacon. Check on it and cook in 30-second additional increments as needed. The price time will depend on the thickness of the cut and how much you are cooking at one time. Step 4: Once cooked through, transfer the bacon to a clean plate (NOT lined with paper towels) so the bacon slices don't stick to the paper towels as it crisps up. Step 5: Enjoy deliciously cooked bacon, right from your microwave! Did we just blow your mind?

