Posts tagged: Recipes
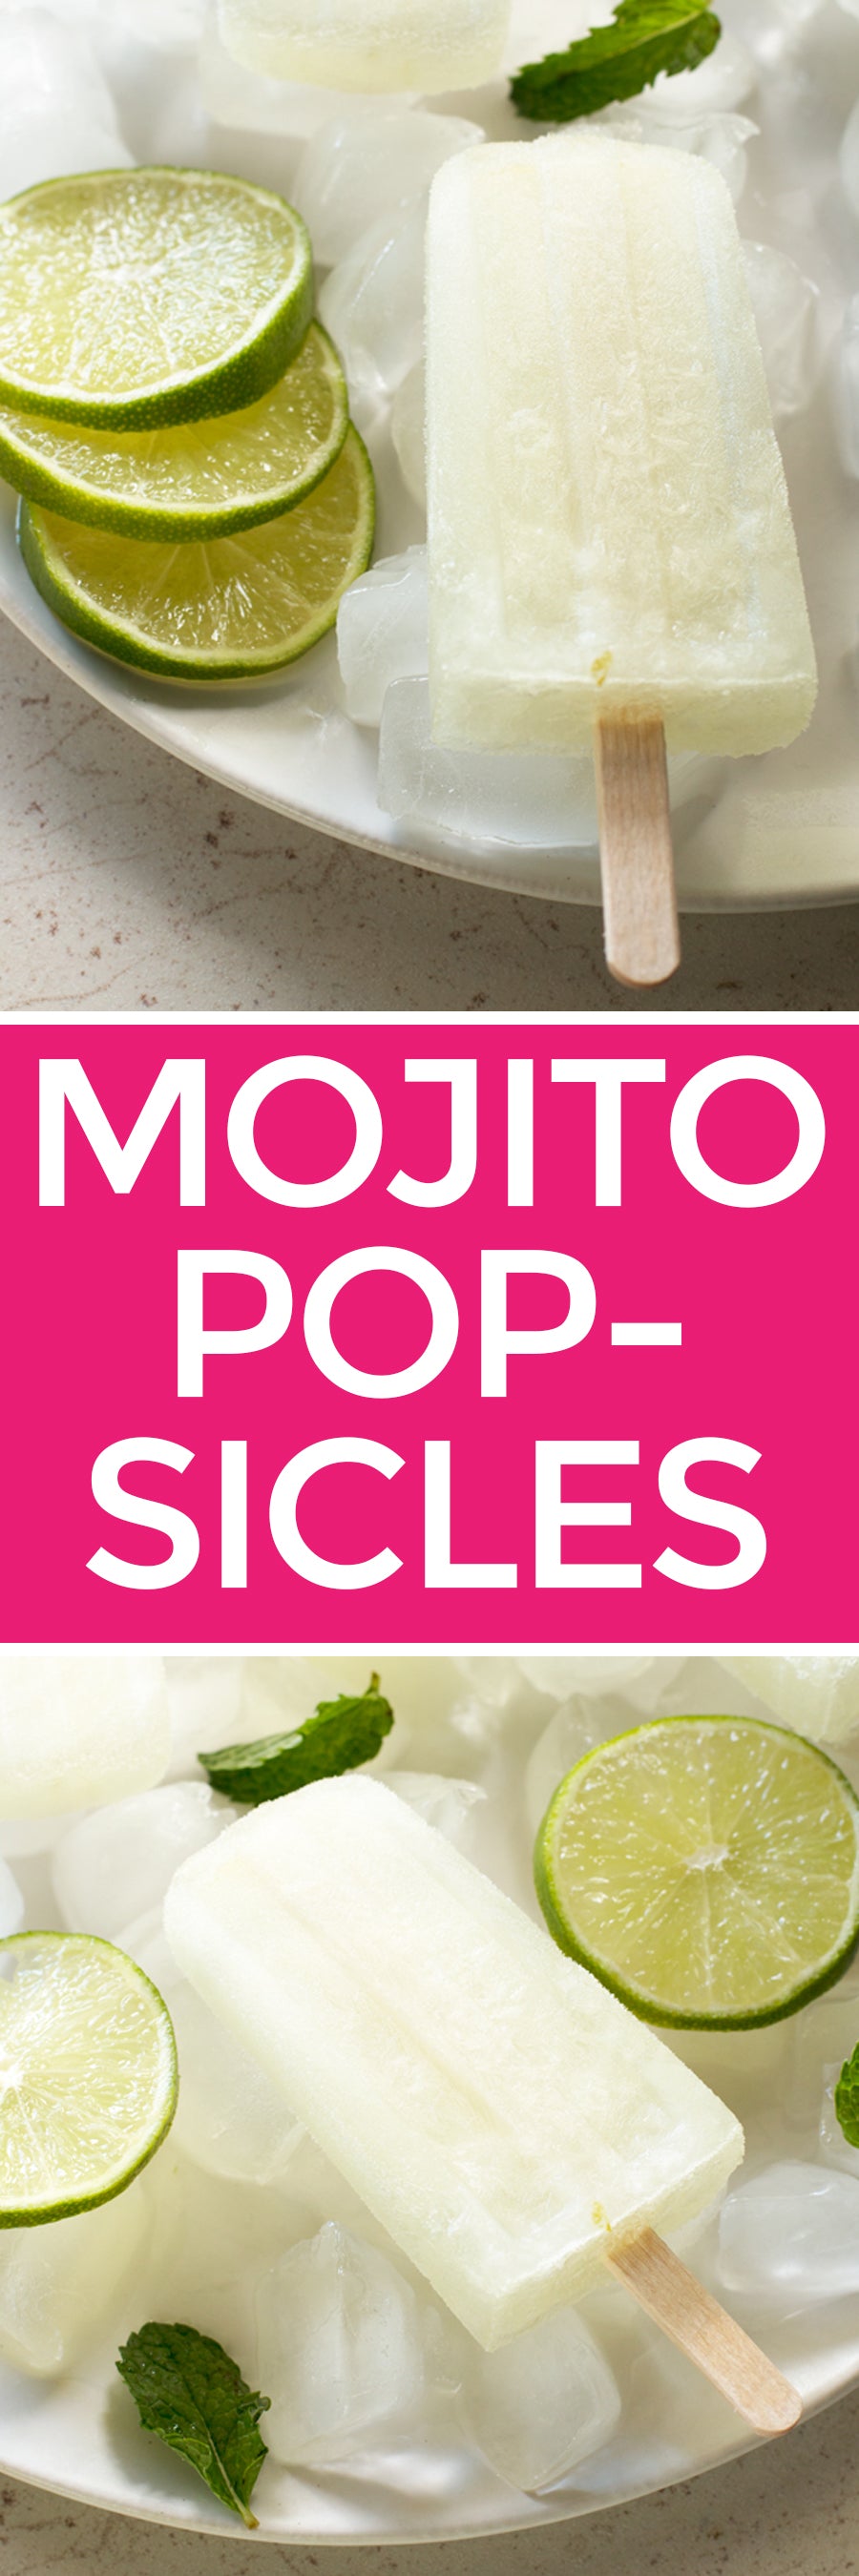
Mojito Popsicles
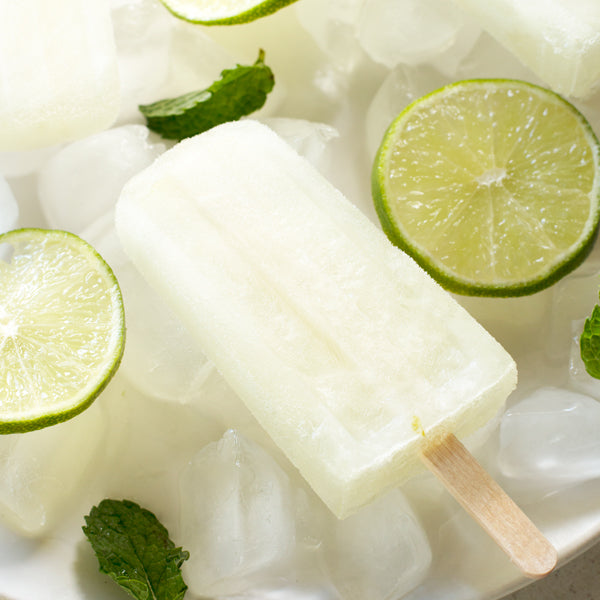

Mojitos are a timeless summer cocktail in my book. The fresh minty flavor with a burst of lime juice makes mojitos a refreshing way to celebrate the end of a long day at the office. As we get further into August, the temperatures start to spike to all-time highs before the relief of the fall season sets in. With these high temperatures, the best solution for a cold cocktail is not to pack in the ice. It’s to turn it into a popsicle - mojito popsicles to be precise!

I’m sure you’ve caught our other cocktail popsicles this summer (piña colada and strawberry daiquiri!), and the mojito popsicles are yet another stroke of pure thirst-quenching genius. The mint simple syrup preserves that minty flavor you need to pair with the fresh lime juice and zest. You’ll find yourself saying “ahhhhhh” after every bite!


INSTRUCTIONS:

In a small saucepan, combine sugar, water and mint leaves. Heat the mixture over high heat, stirring constantly until the sugar is dissolved. Once the syrup reaches a boil, remove from heat and steep for 10 minutes.

In a medium bowl that is easy to pour out of, combine lime juice, lime zest and rum. Strain the mint simple syrup into the bowl through a fine mesh strainer. Cool completely before pouring into the popsicle molds. Freeze for 1 hour. Add the popsicle sticks and continue to freeze until solid, approximately 6 to 8 hours.

Recipe & Photos by Meghan Bassett
Pulled Pork Tacos
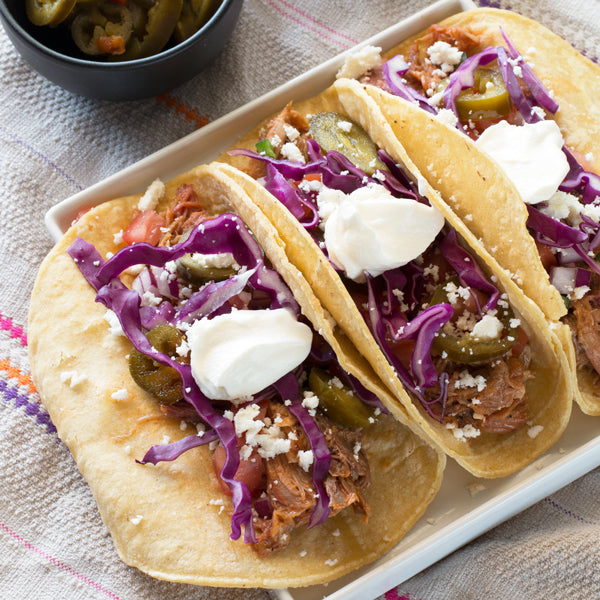

These pulled pork tacos are going to rock. your. world. I have to admit, I have a bit of an obsession with tacos. It’s the one meal I can’t seem to live without for more than a week. These pulled pork tacos are my new favorite in my taco rotation.

They are packed with pulled pork, pico de gallo, pickled jalapenos, cabbage, cheese and sour cream – everything you could every want from a taco! They are so flavorful that every bite practically explodes in your mouth. You’ll find it extremely difficult to stop yourself from eating more than 3… or 4… or 5…


INSTRUCTIONS: Warm the corn tortillas for 15 to 30 seconds in the microwave to make them easier to work with. In a small bowl, stir together the ingredients for the quick pico de gallo. To assemble the tacos, pile on the pulled pork, pickled jalapeños and red onions, and pico de gallo. Top with queso fresco and sour cream. Serve immediately.

Shop This Post
Recipe & photos by Meghan Bassett
Campfire Nachos

Imagine this… You’re sitting around the campfire, drinking a couple beers and joking with your friends. Then someone says, “dinner’s ready” and you all gather around a large cast iron skillet. The aluminum foil gets peeled off and you instantly smell the best campfire dinner smell ever – barbeque. 
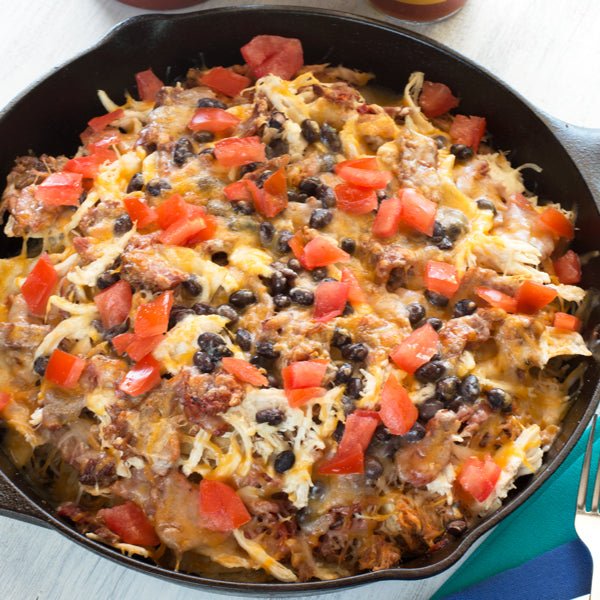
Now I’m turning that imagined experience into a reality for you with these campfire barbeque nachos! Featuring Pig of the Month meats, all you have to worry about is preparing shredded chicken prior to packing up and heading to your campsite. Then simply assemble all the ingredients, cover with foil and cook directly on the campfire until everything’s warm and the cheese is melted.

You’ll end up loving the three-meat combination on these campfire nachos so much, you’ll be building fire pits in your backyard just for an excuse to eat them on a weeknight! DIG IN!


INSTRUCTIONS: Layer the tortilla chips on the bottom of the cast iron skillet, filling it approximately 1/3 of the way full. Add the pulled pork, brisket and pulled chicken in an even layer on top of the chips.

Top the meats with black beans, sliced jalapeños, and cheese. Cover the cast iron skillet with aluminum foil and place directly on the campfire. Cook until the dish is warmed through and the cheese is melted, approximately 5 to 10 minutes. You can also cook this under the broiler on low for approximately 5 minutes at home!

Remove from heat, peel off the foil and top with the fresh tomato chunks. Serve immediately with either barbeque sauce or salsa and hot sauce.

Shop This Post
Pig of the Month Pulled Pork Pig of the Month Brisket
Recipe & Photos by Meghan Bassett
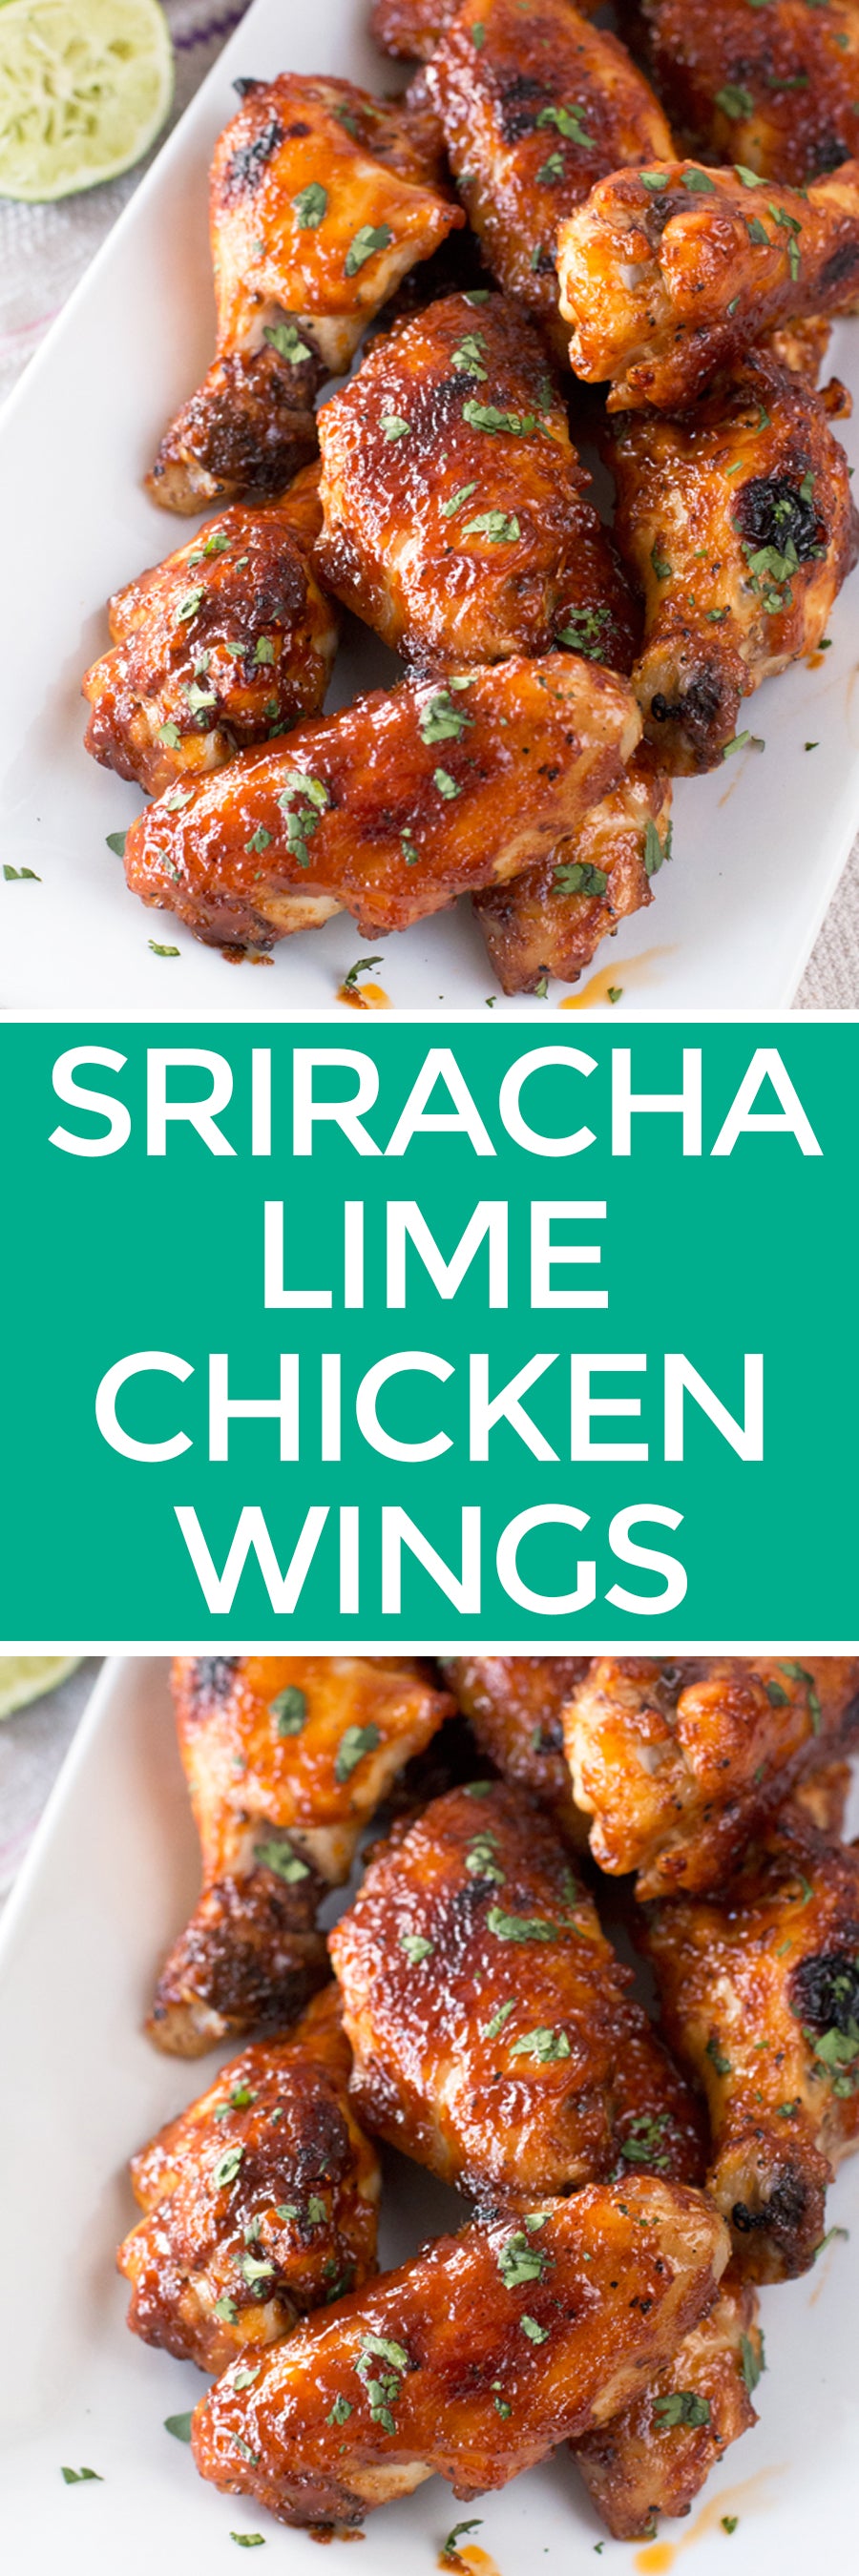
Sriracha Lime Baked Chicken Wings
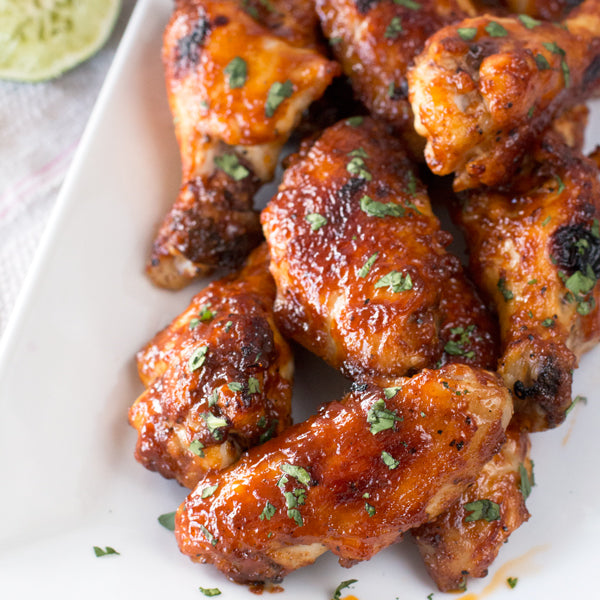

It's March and that means one thing in my foodie-obsessed brain - March Madness parties for days. That's right, that means chips and dip, guacamole, sliders, jalapeño poppers and, most importantly, crispy sticky chicken wings. Sriracha Lime Baked Chicken Wings, to be exact.

If you ever have a snack attack, March Madness-related or not, your next go-to recipe absolutely has to be these wings. They are baked to crispy perfection in the oven, and the sticky spicy and tangy glaze makes them positively finger-licking good. You'll need the wet wipes for these, folks.

The Sriracha and lime juice make this super simple glaze full of flavor that you simply can't find anywhere else. No need to go out for chicken wing perfection - time to stay in with your friends and family watching the next March madness game, or just enjoying a leisurely spring afternoon with a couple of hearty beers.


INSTRUCTIONS: Preheat oven to 400 degrees F. Line a large baking sheet with parchment paper. Set aside. In a medium saucepan over medium heat, melt 5 Tbsp unsalted butter. Once melted, whisk in 1 Tbsp flour and brown for approximately 1 minutes. Add in the hoisin sauce, Sriracha, soy sauce and lime juice, stirring to combine. The mixture should become nice and thick pretty quickly, in less than a minute. In a large bowl, combine the chicken wings, 2 Tbsp melted butter, vegetable oil, salt and pepper. Toss to coat the wings evenly.

Add the wings in an even layer to the lined baking sheet.

Brush the wings with a layer of glaze. Bake the wings for 25 minutes, turning them over halfway through and adding another coat of glaze. After 25 minutes are up, brush the wings with a final layer of glaze and broil for 4 to 5 minutes until crispy. Garnish with chopped fresh cilantro and serve immediately.

Recipe & photos by Meghan Bassett
Pimento Pulled Pork Poutine
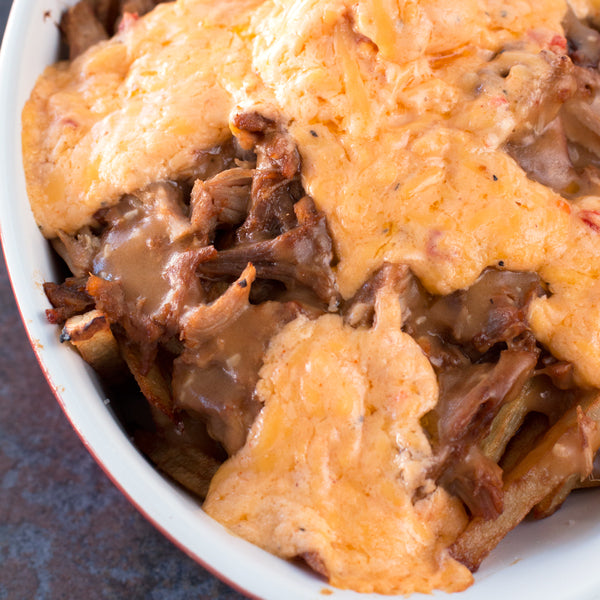
Pimento Pulled Pork Poutine! I dare you to say that five times fast...

Tongue-tied yet? Well, this poutine is exactly what you need to untie that bad boy and get down on some serious pulled pork. Poutine is one of my all-time favorite gluttonous meals to indulge in. After years and years of eating the same go-to recipe, I've decided to shake things up a bit by adding a hefty helping of pulled pork and ditching the cheese curds for some creamy, spicy pimento cheese spread. This is quite possibly the best combo of Canada meets Southern comfort you've ever tasted.

This dish is a glorious mess that people will be swooning for on game day this Sunday. Whether you're rooting for the Broncos or the Panthers on game day, this poutine is a must-have for your Super Bowl spread.

Hint: You can even whip up some frozen fries for this dish if you'd like to save time and get to the poutine sooner!

INSTRUCTIONS: Place the cut potatoes in a large bowl and cover with cold water. Refrigerate for about 1 hour.

While the potatoes are chilling, melt butter in a medium saucepan over medium-high heat. Stir in flour until the mixture is smooth. Stir in garlic and cook until fragrant, approximately 1 minute. Add beef stock, ketchup, and Worcestershire. Bring the mixture to a boil, stirring occasionally, until thickened, approximately 6 minutes. Season with salt and pepper to taste. Cover and keep warm on low heat until ready to serve.

Pour enough oil into a dutch oven to be 3" deep. Heat over medium heat until the temperature reaches 325 degrees. Drain potatoes and dry completely with paper towels. Fry the potatoes, working in small batches, until tender and just crisp. Remove to a paper towel lined plate to drain. Cool for 20 minutes.
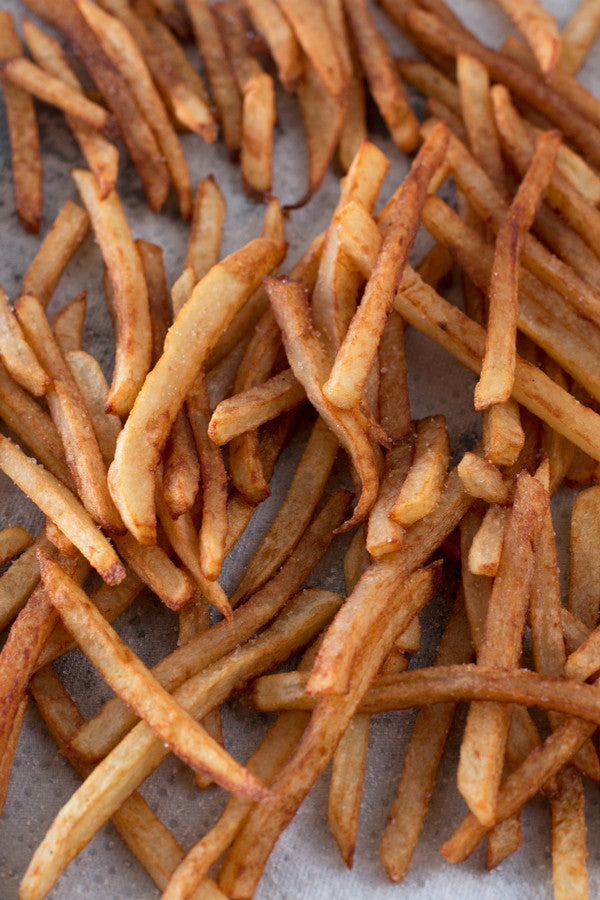
Increase heat to medium-high and allow oil to heat to reach 375 degrees. Fry potatoes in the same small batches, until golden brown, approximately 2 minutes. Remove to fresh paper towel lined plate and sprinkle with salt. Preheat oven to 450 degrees F.
Add fries to an overproof baking dish. Top with the pulled pork, spreading it evenly across the whole dish.

Spoon the gravy over the fries and dollop the pimento cheese spread all over the top. Bake for approximately 5 minutes, until the cheese is melted and bubbly. Serve immediately.
Shop This Post
Recipe & Photos by Meghan Bassett
Hawaiian BBQ Pulled Pork Calzones
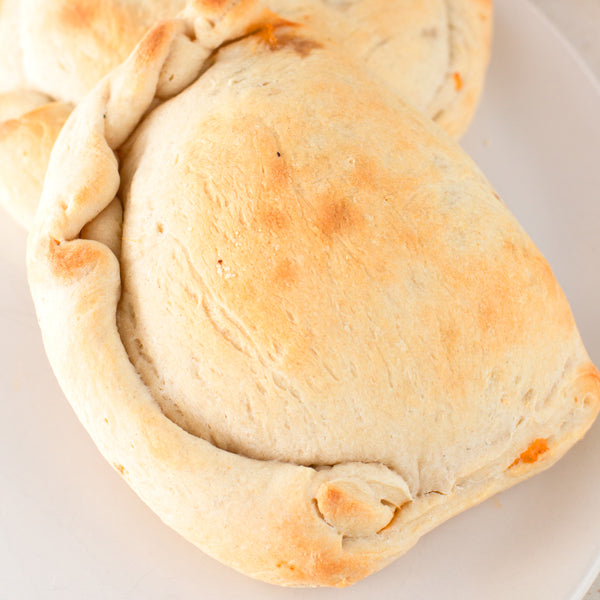

My love for Hawaiian pizza runs pretty deep. Almost as deep as my love for truly amazing pulled pork and BBQ. As I sat down to come up with my Super Bowl menu, I couldn't stop thinking about Hawaiian pizza. I didn't want to do the same ol' pizza I've been doing for years though. Nope, it was time to change things up.
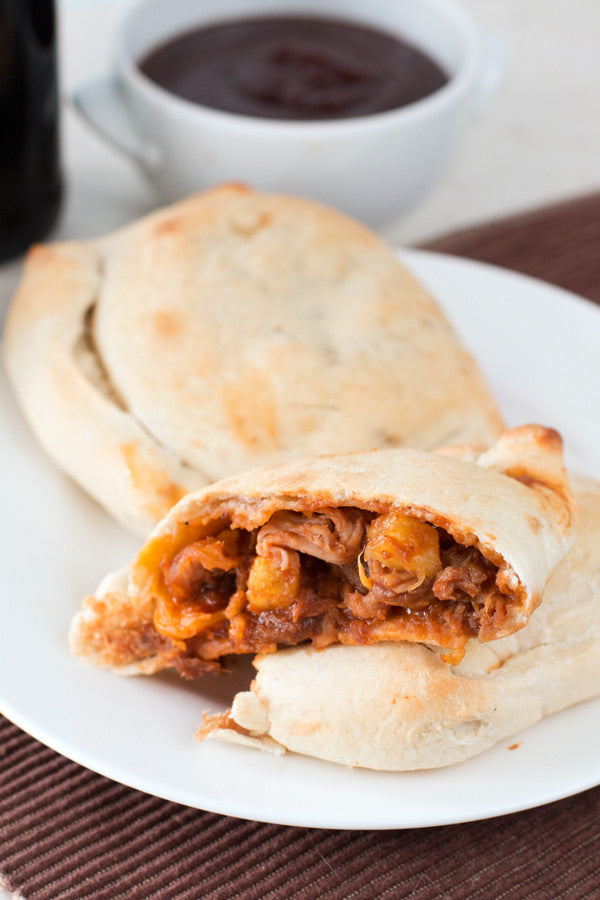
So why not stuff pork, pineapple, cheese and barbecue sauce into warm, gooey pockets of deliciousness? These Hawaiian BBQ Pulled Pork Calzones are the perfect game day meal for your upcoming Super Bowl celebration (or any excuse for a celebration, let's face it, they are THAT good). They take little to no effort and are ready in less than 20 minutes. Plus you get that oh-so good Pig of the Month pulled pork...

When you're cheering your team for that touchdown, just try not to get BBQ sauce everywhere, ok?

INSTRUCTIONS: Preheat oven to 425 degrees. Line a large baking sheet with a silicone baking mat or aluminum foil (be sure to grease it!). In a medium bowl, stir together pulled pork, BBQ sauce and diced pineapple until combined. Set aside.

Roll out pizza dough into a large rectangle, approximately 1/4" thick. Cut the rectangle in half crosswise and then again lengthwise to form 4 small rectangles. In the center of each, add approximately 1/4 cup of the pork mixture.

Top with 1/4 cup of cheddar cheese. Fold the dough over to form the calzone, pinching the edges together before rolling them up and in. Place all four calzones on the lined baking sheet.

Bake for 15 to 17 minutes, or until just starting to brown on top. Remove from oven and wait 5 minutes before cutting and serving with extra sauce.
Shop This Post
Recipe & Photos by Meghan Bassett
Pull Apart Bacon Garlic Cheese Bread
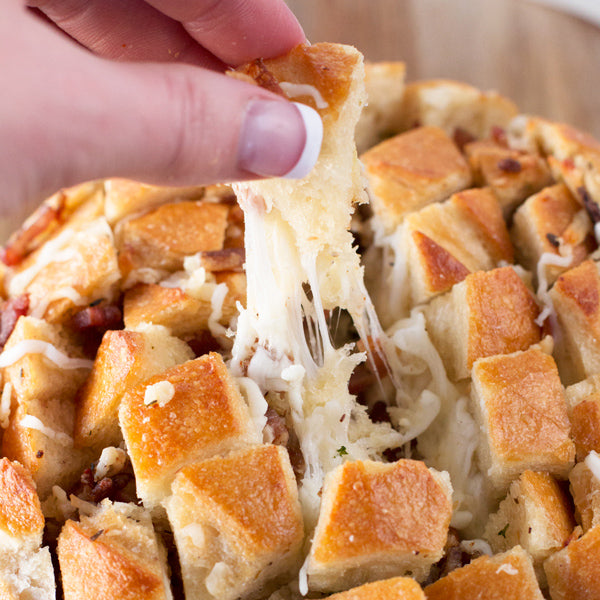
I'm about to blow your minds with some serious bacon and cheese action. You may think that it couldn't get any better than the fried mac n cheese we busted out earlier this week, but we just outdid ourselves. Yet again.

Pull apart breads are my new favorite recipe to whip out for a party, especially a huge spread like the one I'm hosting on Super Bowl Sunday in a couple weeks. This bread is so ridiculously simple, there's really no excuse for you to NOT make it. In about 5 minutes of prep time, you'll be a hot 15 minutes away from a cheesy, bacon-packed mess of a bread that everyone will gladly get messy for. Just take a gander at that cheese....

Ok one more... All that cheese and bacon stuffed into the cracks of that warm, crusty bread...

Enough torture, I promise. But seriously, can't you just taste the deliciousness that this cheesy, bacon bite must pack? Are you hungry yet?


INSTRUCTIONS: Preheat oven to 350 degrees F. In a small bowl, stir together melted butter, garlic, salt, pepper, parsley, thyme and oregano. In another small bowl, combine the two cheeses and bacon. Gently toss to combine.

Using a serrated knife, cut the bread on a diagonal angle into 1-inch diamond shapes, making sure you don’t slice all the way through the loaf of bread.

Gently open up the cracks with your fingers. Drizzle each with a tsp of the butter mixture and a pinch of the cheese and bacon mix.

Wrap the loaf of bread in aluminum foil and bake for 15 minutes, until the cheese has mostly melted. Remove from the foil and bake for an additional 5 minutes, directly on the rack. Serve immediately.
Shop This Post
Pig of the Month Applewood Smoked Maple Bacon

Recipe & Photos by Meghan Bassett
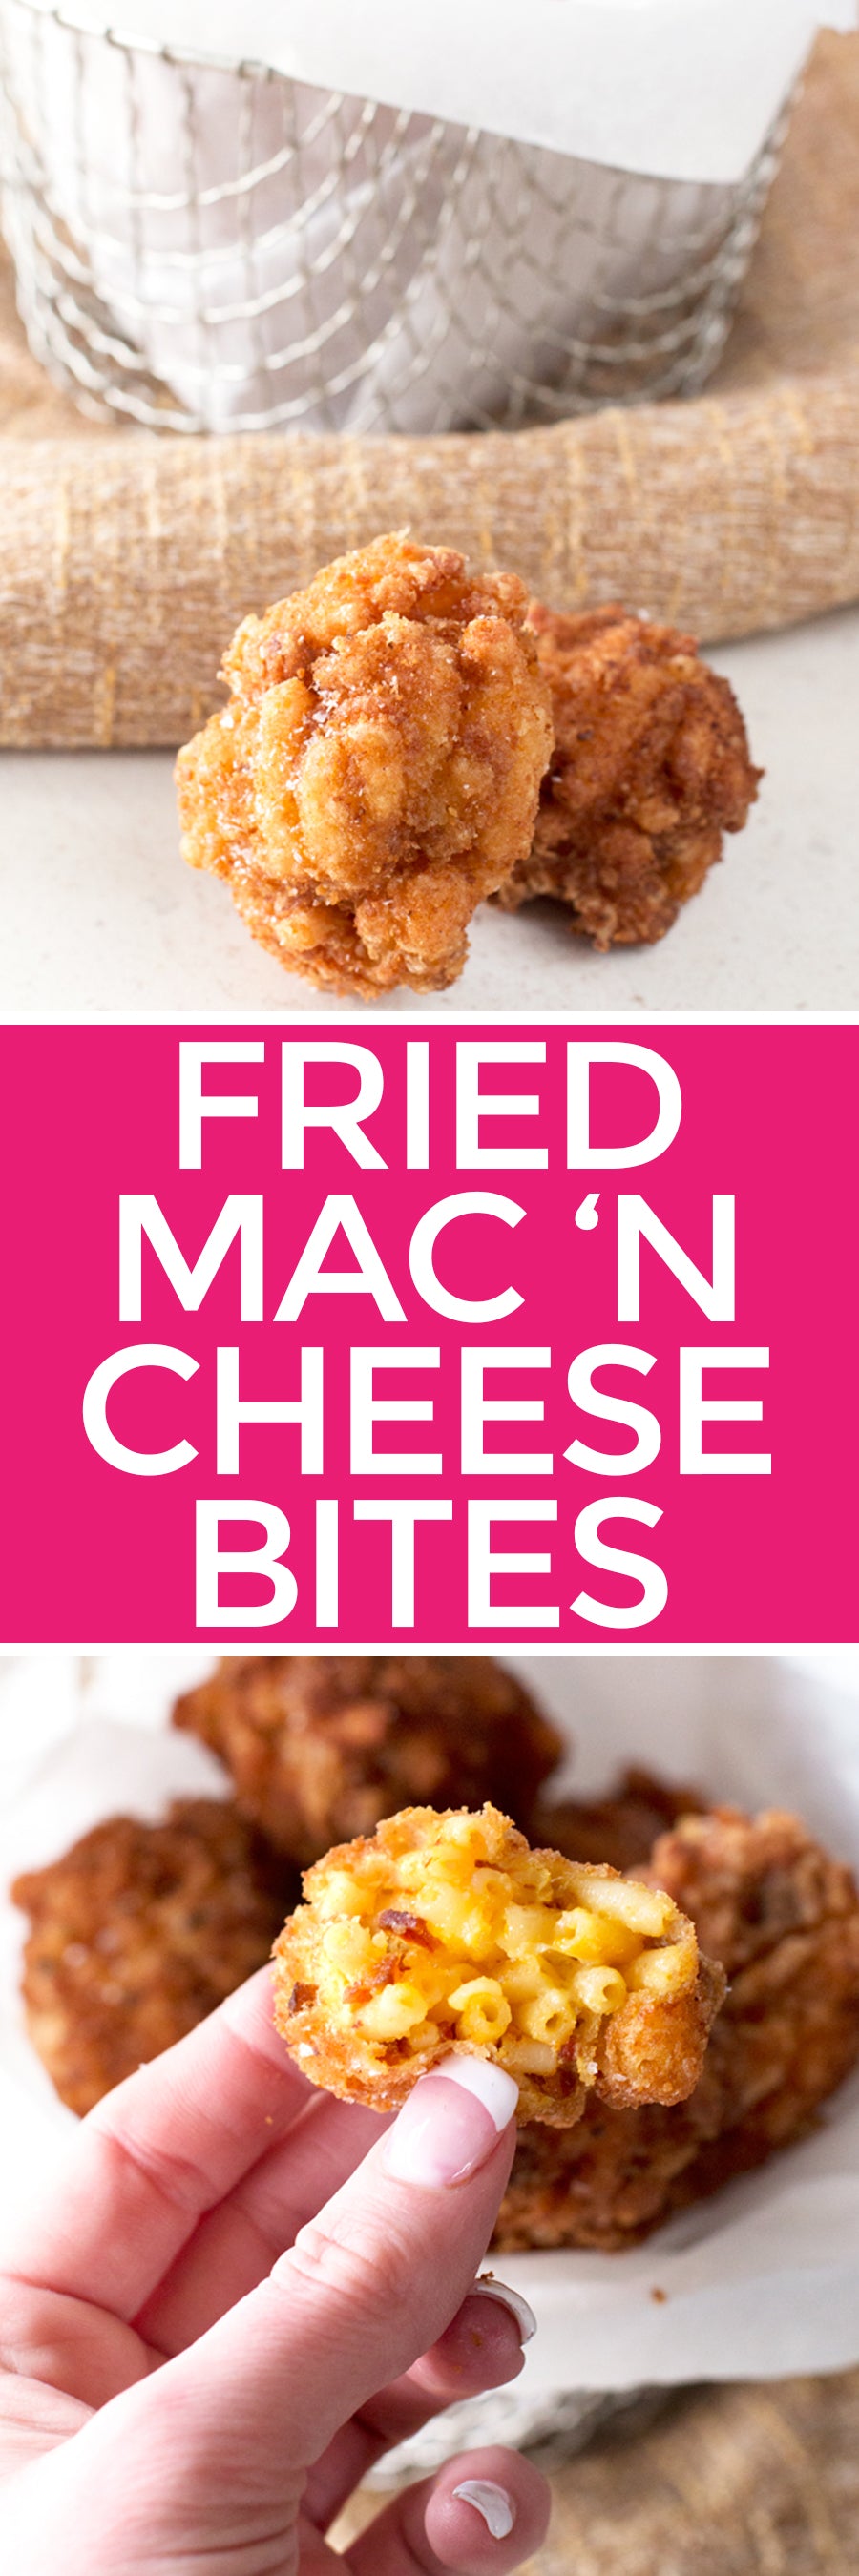
Fried Bacon Mac n Cheese Bites
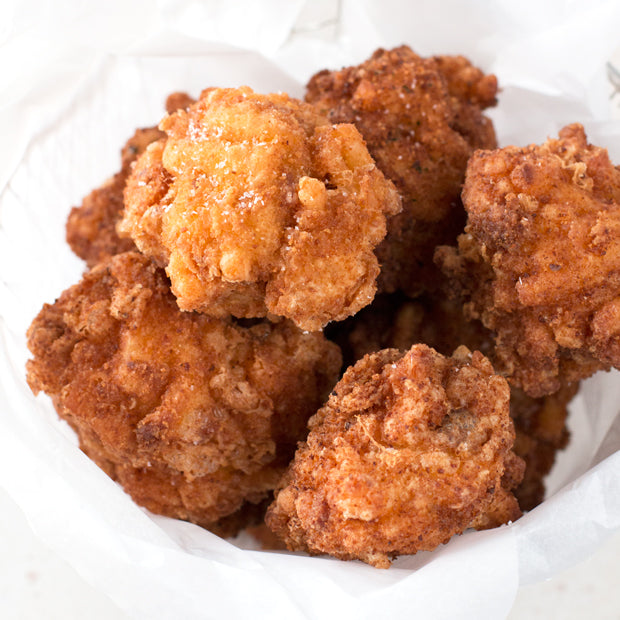

With the playoffs all wrapped up, that only means one thing. Time to get ready for the SUPER BOWL! 
Since this year is the big number 50 for the Super Bowl, I'm going ALL out with the Super Bowl spread. Instead of the typical chips and dip, I'm opting to bring in the big guns with these golden, delicious fried bacon mac n cheese bites. They are crispy on the outside and warm, cheesy and bacon-packed on the inside.

The best part of this recipe is that you can simply use a few cups of leftover mac and cheese to make it! No need to let that mac and cheese sit lonely in the fridge anymore, you now have the best ever round two recipe for it that comes together in minutes.

No one will be able to step themselves at one, so be sure to triple this recipe if you've got a lot of hungry people headed your way on game day.


INSTRUCTIONS: In a medium bowl, mix together the mac and cheese and diced bacon. Form small balls (either one or two bite depending on your preference) out of the mac and cheese mixture and add them to a flat baking sheet. Once you have formed the balls (make sure you press them together tightly), cover with plastic wrap and freeze for at least 2 to 3 hours.

In a small bowl, beat the eggs. In another small bowl, combine the breadcrumbs and flour; season the coating with salt, pepper and cayenne. In a heavy bottomed saucepan, heat 3 to 4 inches of canola oil over medium-high heat. Working in small batches of 3 to 4, dredge the mac and cheese balls in the egg, then in the breadcrumb mixture. Add the the hot oil and fry until golden brown and hot in the center, approximately 4 to 5 minutes. Remove from the oil and drain on a paper towel-lined plate. Sprinkle with salt and repeat until all the mac and cheese balls are fried. Serve immediately.
Shop This Post
Pig of the Month Applewood Smoked Maple Bacon
Recipe & Photos by Meghan Bassett
Bacon Shot Glasses Are Here
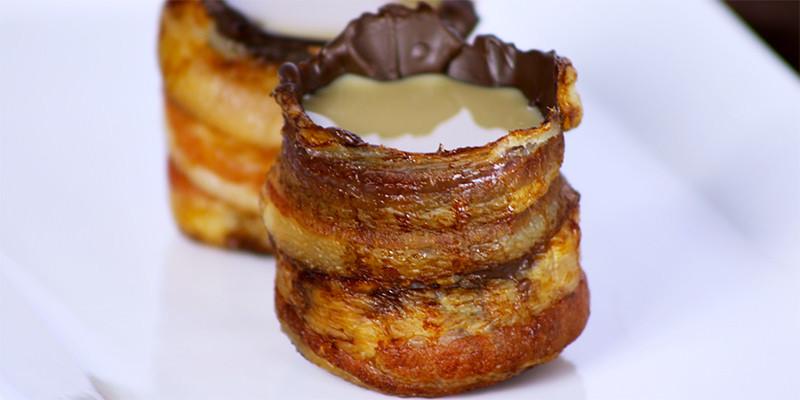

Bacon shot glasses are here, and they're here to stay. Made by the porcine lovers at Through The Eyes of My Belly, bacon shot glasses get an extra dose of sinful with the addition of a chocolate dip. That's right. Chocolate dipped bacon shot glasses. Mind blown. Some of our long time customers will remember a time when we used to make a vanilla bourbon bacon. We still receive a dozen or so requests a year for it. If you rubbed the bacon down with a little brown sugar and cayenne before baking this would be an almost perfect replacement. All it needs is a swig of fine Kentucky Bourbon, and you've got a fine stand in that'll get you super toasted while smelling roasted ;) It doesn't look too hard, either. You create the mold out of aluminum foil and bake the bacon around it, and then fill to the brim. So, what do you think? Will you be guzzling your spirits from the bacon glass, or sticking to boring old shooters?
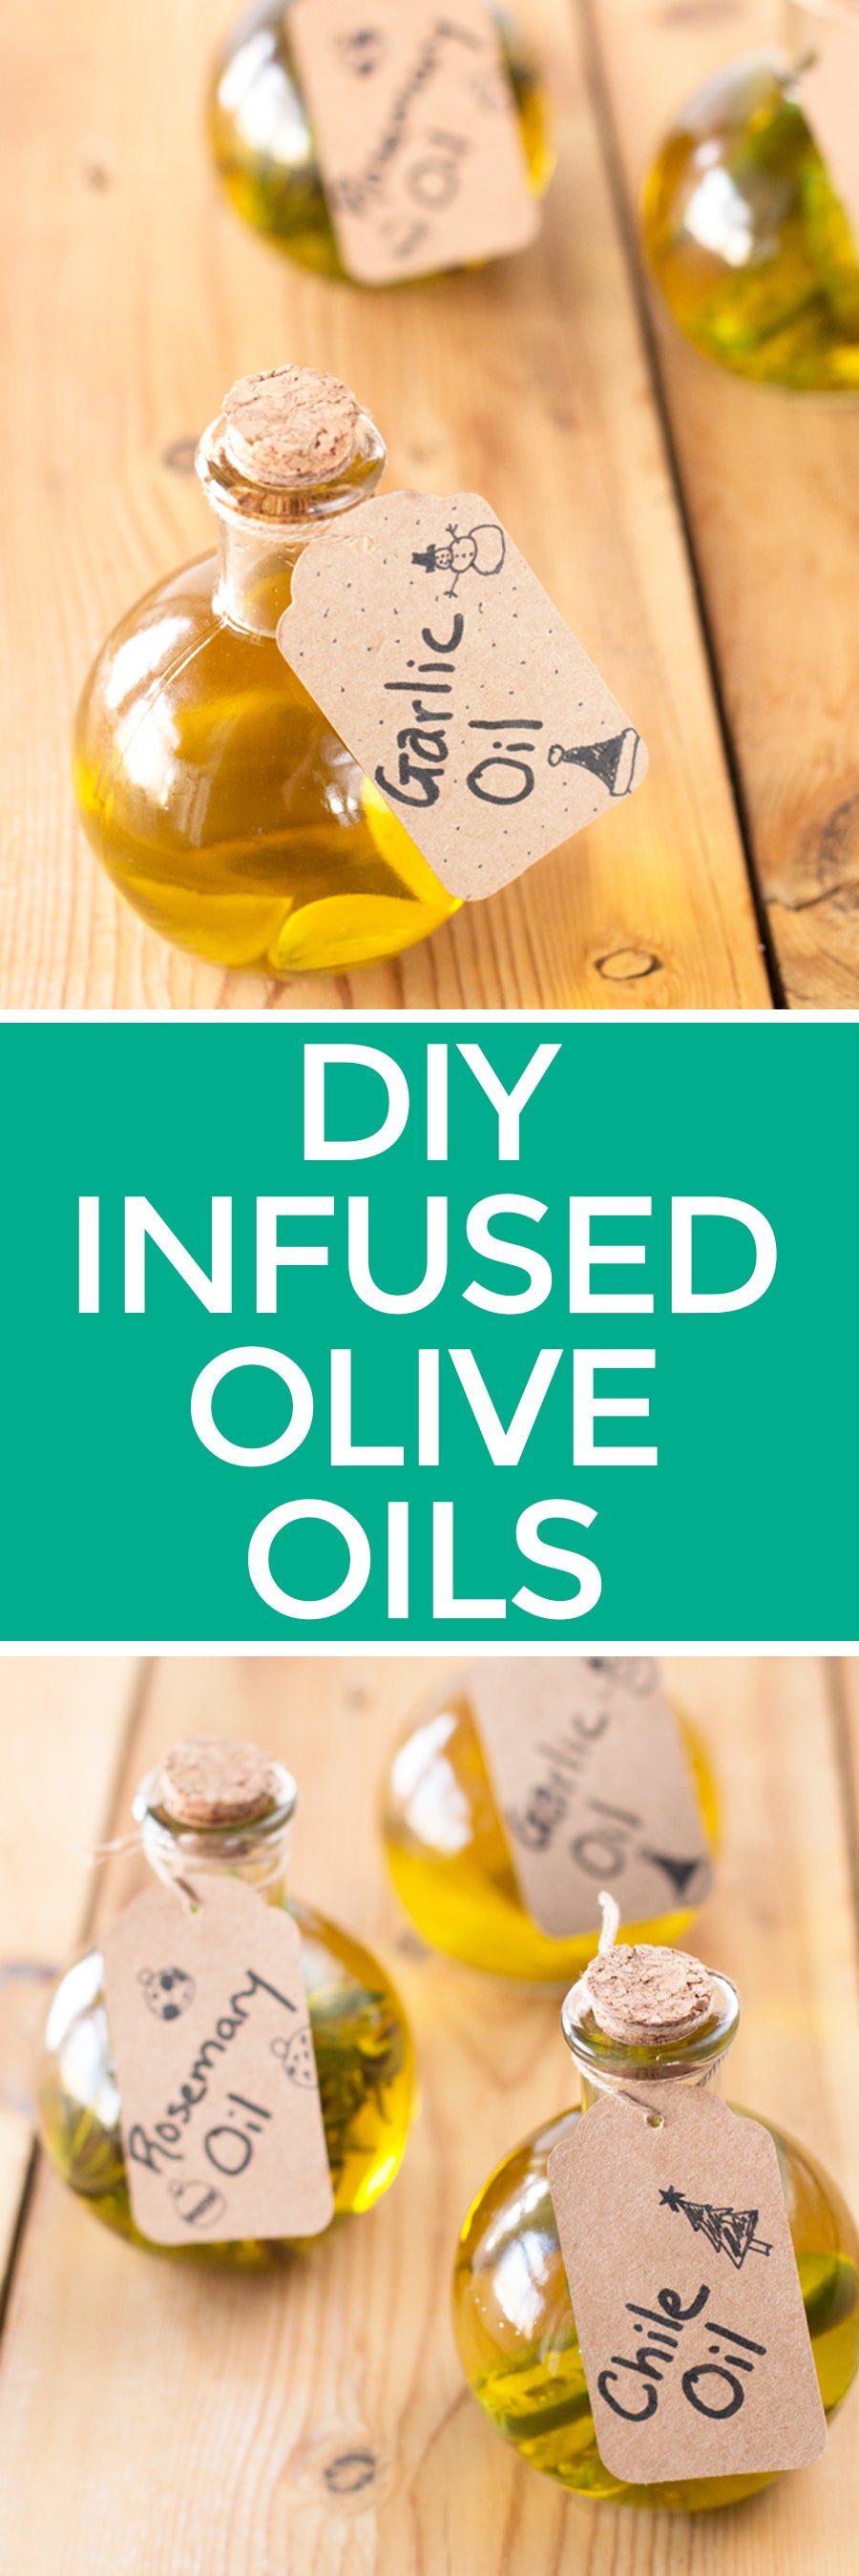
Gift This! Infused Olive Oils - Garlic, Rosemary & Chili Oils
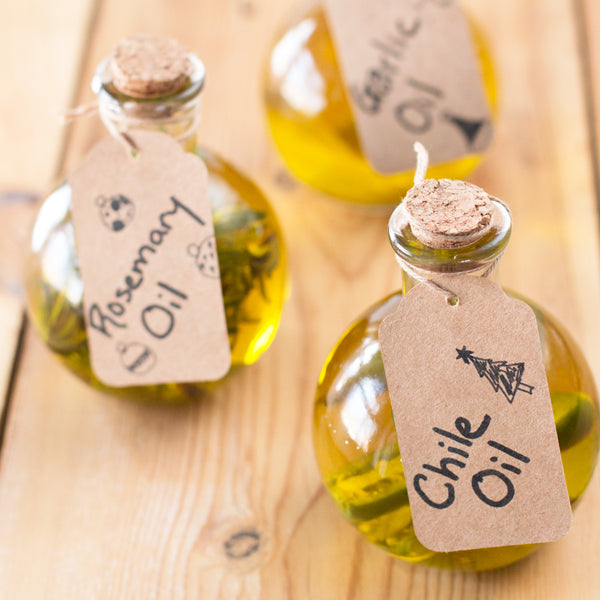

Christmas is only a couple days away and if you're anything like me, you're panicking about those last couple of presents you still have yet to buy. Instead of a Starbucks gift card or some flowers, why not make a gift that is memorable, hand-crafted and really useful?!

These three infused oils are the perfect trio to gift to anyone on your Christmas gift list. The garlic, rosemary and chili oils will infuse a hefty dose of flavor into whatever anyone cooks with them.

The best part is it'll only take you a quick trip to the craft and grocery stores to get what you need to make these oils. They come together in minutes and don't even require gift wrap because they already look so stunning.

Whether you have a pro chef in your life or someone who's just starting to learn to cook, they'll love these handcrafted oils!


INSTRUCTIONS: Add cloves, rosemary and peppers to their own individual jars. If you don’t want the chile oil to be as spicy, remove the seeds from the peppers before adding to the jar. Pour 6 oz of oil into each and seal. Add cute labels and you’re done!

Recipe & Photos by Meghan Bassett
« Previous 1 … 5 6 7 8 9 … 16 Next »
